“MONOGRAMMED MUGS”

…as centerpieces.  They are so fresh, whimsical, and so much more interesting than just plain white vases…not to mention that I just can’t resist everything monogrammed (blame it on my weird obsession with personalization).  I got these mugs from Anthropologie.

I haven’t put them to use yet, but I definitely plan to use them to hold fresh flowers instead of hot cocoa.  If I had bought them last year, I would have definitely incorporated them into my wedding somehow.  If you’re willing to invest some money (they are $6 each), they would make such unique and beautiful favors/escort cards/place cards.  What a great gift for your guests to take home.  But if you don’t want to bust your bridal budget, here are some ways you can use them as centerpieces, and you only need a few of them…

So simple and pretty.  Love~

Images:  1.  Style Me Pretty, 2. Elizabeth Anne Designs, 3. Style Me Pretty, 4. The Wedding Informer

“D-I-Y DOILIES GARLAND”

…super simple to make. You must try for your next party!
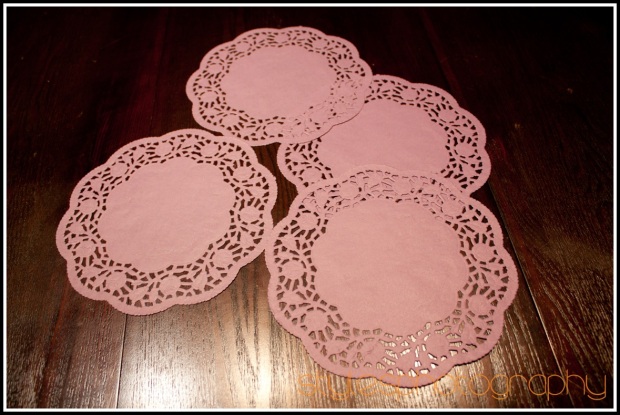
We wanted to use colorful doilies (purple, orange, and pink) for the project, but we could only find the purple ones so we bought plain white doilies and hand-painted them instead.
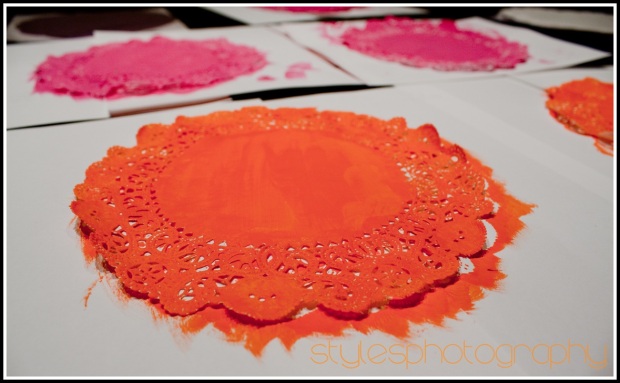
I had some acrylic paint leftover from the Wedding Thumbprint Tree project so I just simply painted the doilies in pink and orange and let them dry.  Since the paint will seep through the laser cut area, place the doily on piece of paper or cloth so you won’t stain your work surface.

Be sure to let them dry completely before applying the second and third coat to prevent the paper from shriveling up since they are so thin.

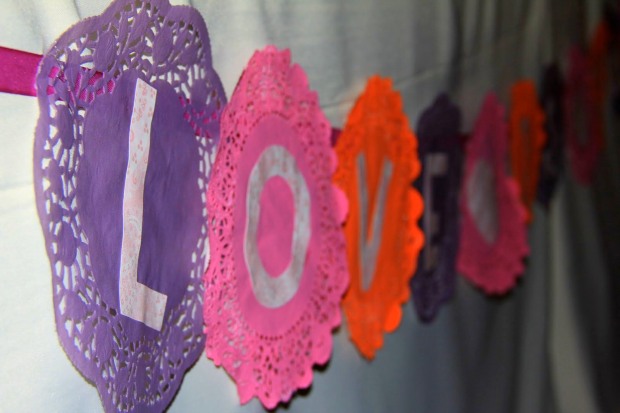
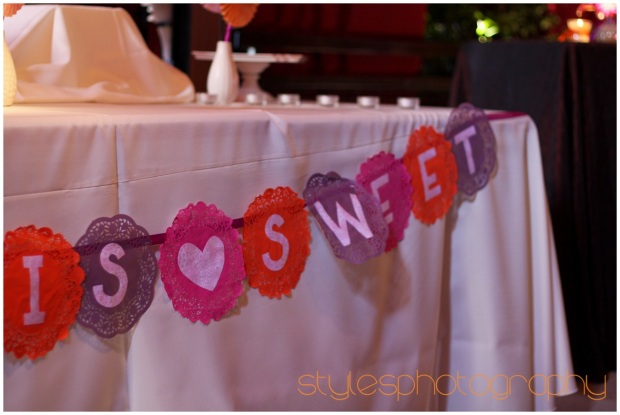
Nora used the Cri-Cut to cut out the letters that spelled “LOVE IS SWEET” with 2 hearts as word separators.  We simply just glued the letters on the doilies, then glued the doilies to a pretty ribbon using a hot glue gun, and we were done.

It adds a touch of whimsy to the dessert table, and it can be customized to say anything really.  Totally heart!

Images:  Courtesy of Debi Chun and Adventures of Styles

“ACCORDION WHEEL DESSERT TABLE”

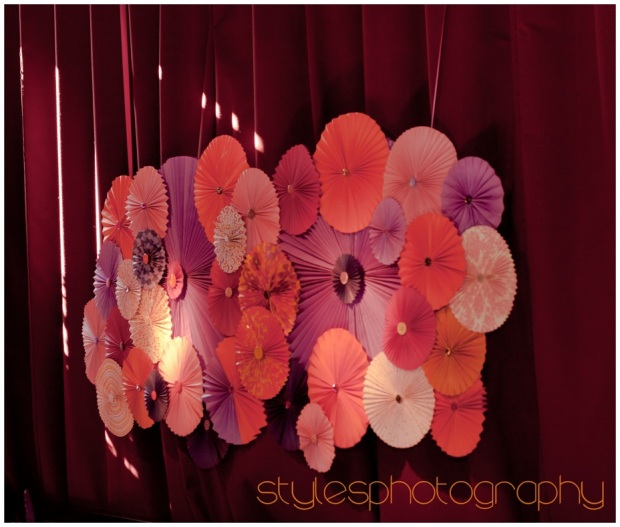
…I’m in LOVE with this dessert table!  It is definitely the “Pièce de résistance” at this event, and the last of the Accordion Wheel D-I-Y posts.  When I first thought of using the Accordion Wheels in Nora’s wedding, I had this image of these wheels in various sizes and colors pinned up on the wall as a backdrop for something.  Well, that something turned out to be this spectacular dessert table.  This is my original sketch of the dessert table (again – please excuse my lame drawing.  I totally suck at it.)

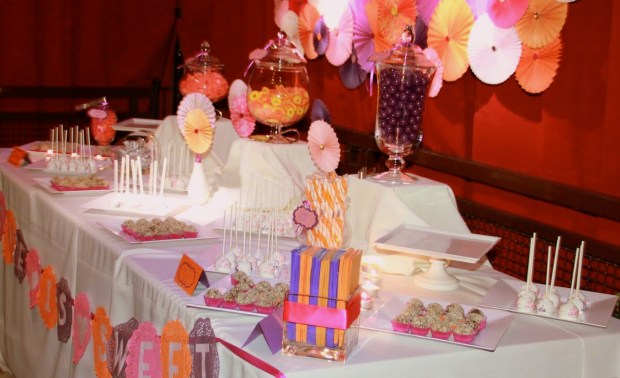
This is how it turns out…

(This was taken before the table is completely set-up.  A completely set-up dessert table photo will be posted on our Totally Heart Events Gallery soon!)

I originally envisioned the cake in the center of the table.  I also wanted the cake to have the Accordion Wheel motive on it  for cohesiveness (as seen in my cake drawing above).  This is how the cake actually turned out.

Not exactly as I had drawn it but still so pretty!  The cake was created by Stephanie of Final Touch Bakery.  Stephanie is also the owner of S Fine Dining (the venue).  She collaborated with us on the cake design and did a fantastic job on creating these wheels from fondant.  I totally love them!  Aren’t the fondant buttons so precious???

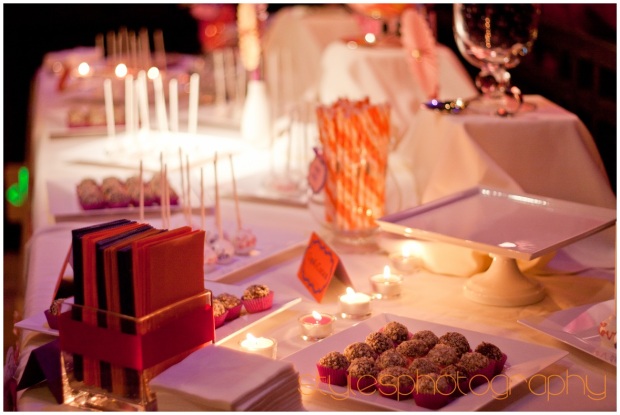
Nora decided to have the cake on a separate table so we re-arranged the dessert platters and candies jars, and they turned out beautifully.

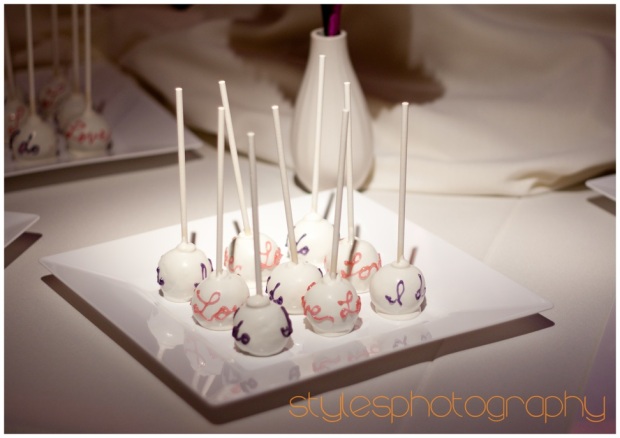
The luscious desserts were provided by Pastry Chef Rachel Magno of A Shop Around The Corner.  Rachel did such a fantastic job doing the desserts for my wedding that Nora contacted her for this wedding, and she did not disappoint!  The featured desserts were Amaretto Truffles, Red Velvet Cake Pops, and Mandarin Creme Brulee.  They were all divine.

The backdrop took over 20 hours with 4-5 people working on it at a time to complete.  It is definitely very time-consuming but well-worth it.

We used the wheels in different sizes and colors and attached them to the foam board (so it’s not too heavy to hang) using a combination of hot glue gun and super glue.

This piece is so dramatic and eye-catching, I think it would also work beautifully as a ceremony backdrop.

As for the doilies garland, the tutorial on how to make it is coming up next so stay tuned!

Images:  Courtesy of Kim Doan, Debi Chun, and Adventures of Styles

“ACCORDION WHEEL STICKS”

…these are super easy to make.

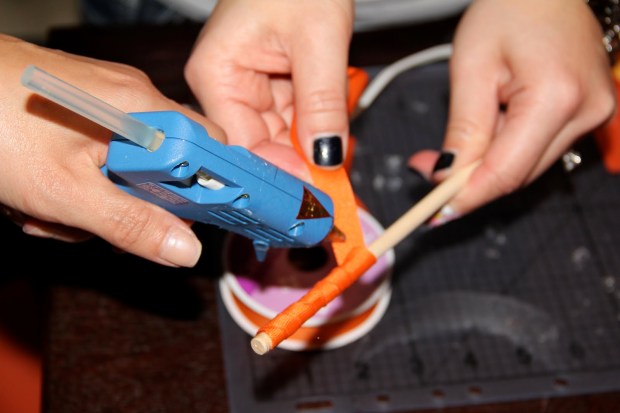
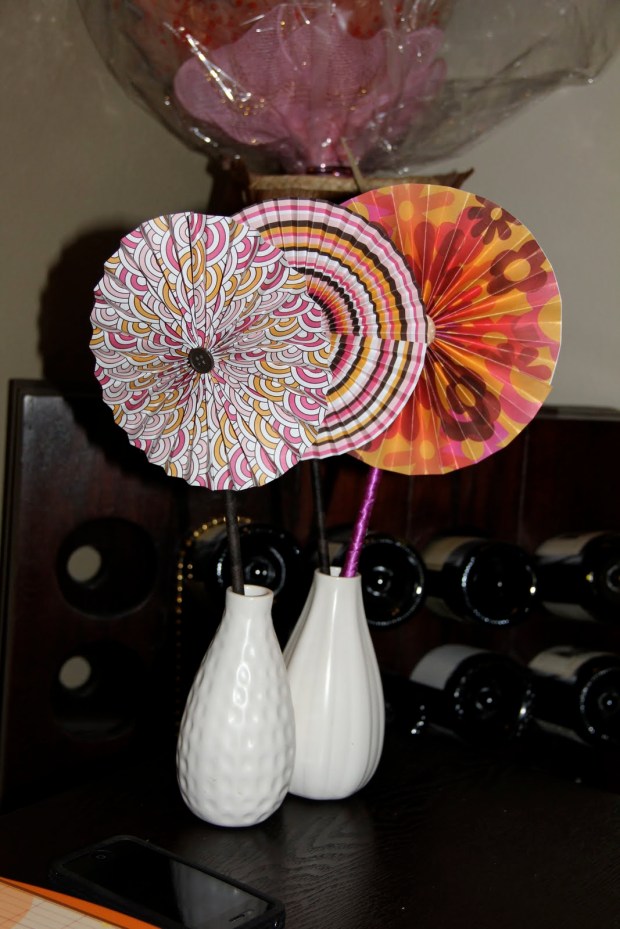
We got some wooden dows and wrapped them using dark brown floral tape and colorful ribbons. For the floral tape, it is already self-adhesive so all you need to do is the wrap the dows with it. As for the ribbons, you will need to use hot glue gun.

Keep wrapping and glue every so often…

Once you reach the end, ensure that you glue the edge of the ribbon so it does not fray.  Then all you need to do is to attach the wrapped stick to the accordion wheel.

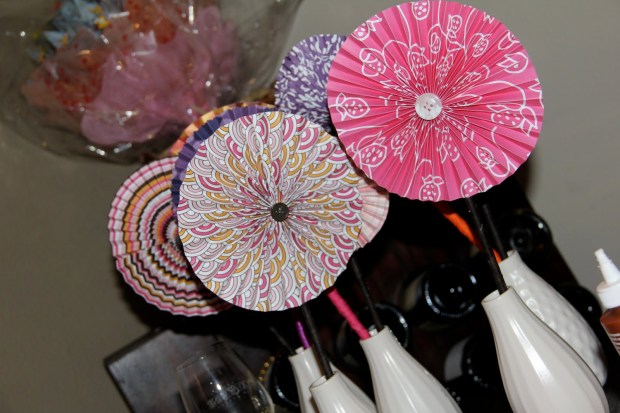
We made a whole bunch of these sticks and placed them in simple white vases from IKEA.

We scattered the vases all around the venue so the theme is consistent throughout.

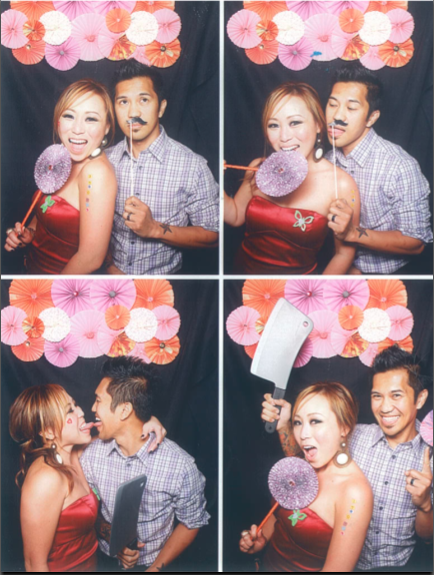
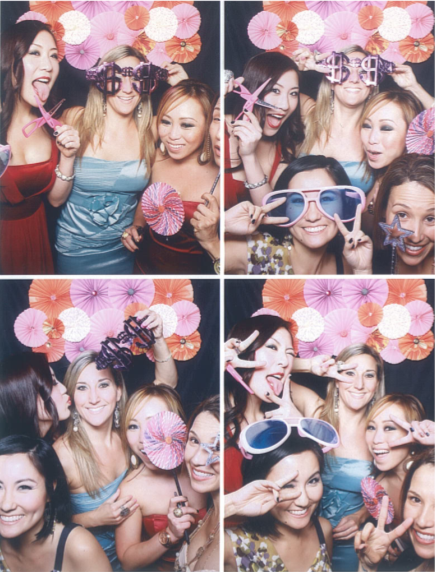
We also have some sticks leftover that we ended up using as props for the photobooth.

Super fun!

Images: Courtesy of Debi Chun and Adventures of Styles

“ACCORDION WHEEL TREE”

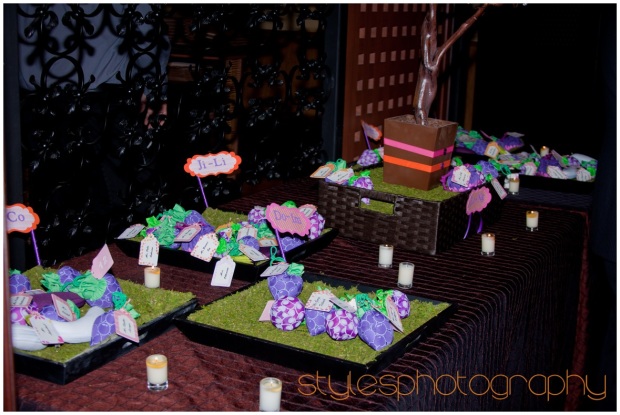
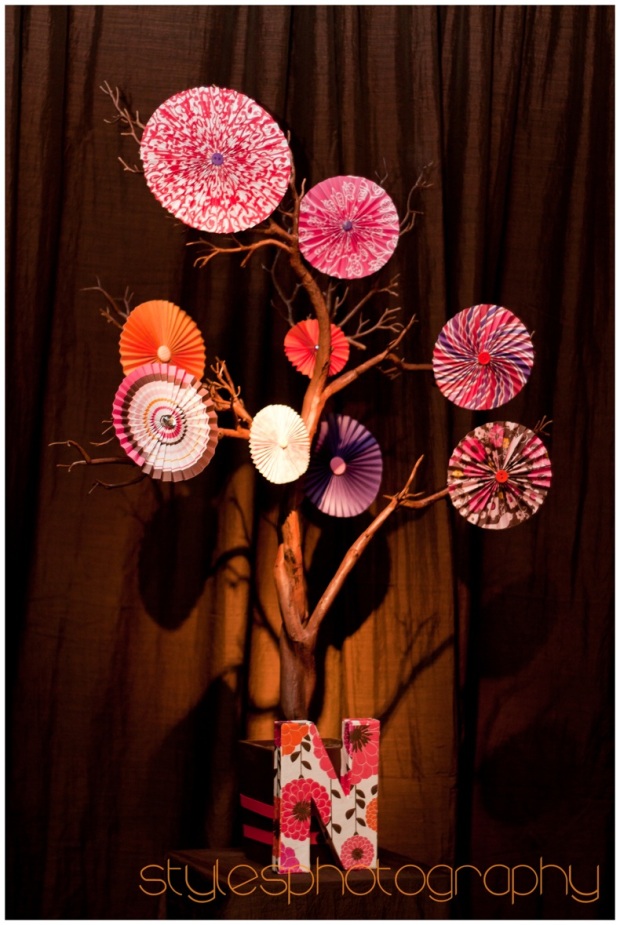
…as the focal point of the Escort Cards table.  This is my original sketch of the Escort Cards table for Nora’s Wedding.  Let me preface by saying, I’m the crappiest artist ever.  I do not know how to draw :-(, but this will give you a bit of an idea…

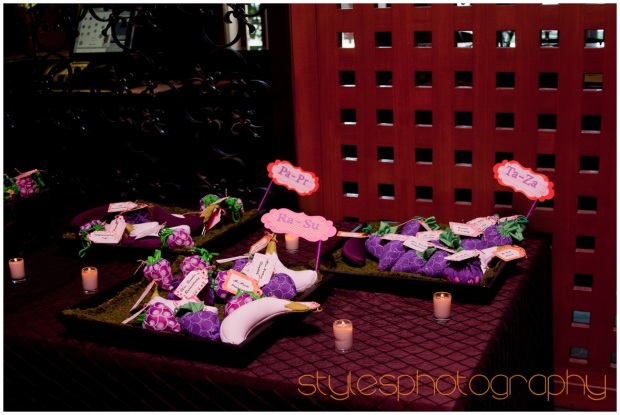
It’s a little hard to see since the pencil is so light, but the tall thing in the middle is the manzanita tree with the accordion wheels on it.  We decided to forego the hanging mini LEDs as the tree looked too crowded after we attached the wheels to it.  Next to the tree are trays filled with spanish moss with the favors in them.  Nora also double-dutied her favors as the escort cards like I did at my wedding, which I totally recommend.  You save so much money and time this way.

We originally were going to use some accordion wheels to decorate the trays as well, but we decided not to since the trays ended up looking too crowded as well.  We did keep all the mini tealight candles all over the table.

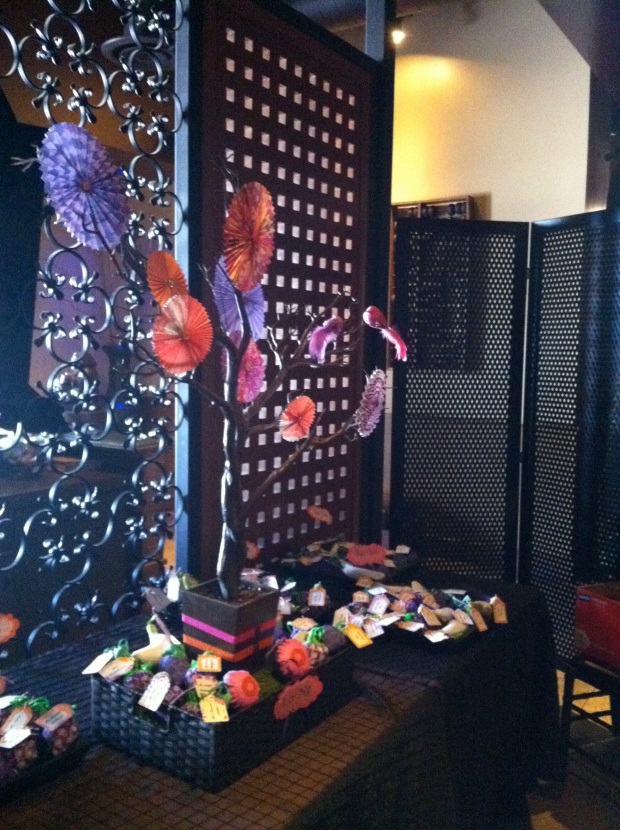
Here’s how the Escort Card Table turned out…

So very close to my sketch.  It’s such a shame I don’t have a better picture, but it was so hectic no one bothered to take a good photo of the table so hopefully the photographer got a good shot of this.

So here’s how we did the tree.  Nora purchased the manzanita tree online.  We like this type of manzanita that she purchased a lot because it is bendable.  The branches are not stiff so they won’t break easily, and we were able to manipulate them into the shape that we wanted.

We then attached floral wire to back of each wheel using hot glue gun.  We then attached the wheel using the floral wire in the back to the branches.  This made the wheels very secure.

Since part of this wedding theme is “Love Birds,”  we also attached 2 little love birds on the tree as well.

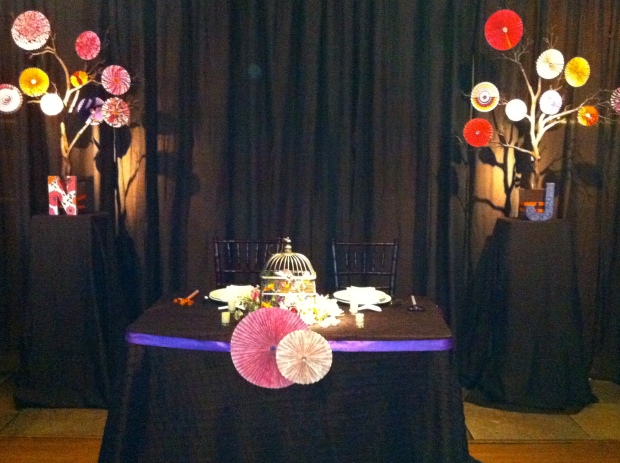
We ended up making 3 trees total.  The other 2 trees were used to flank the Sweetheart Table…

Lovely~

Up next – Accordion Wheel Sticks.  Super fun!

Images:  Courtesy of Kim Doan, Debi Chun, and Adventures of Styles

“D-I-Y ACCORDION WHEELS”

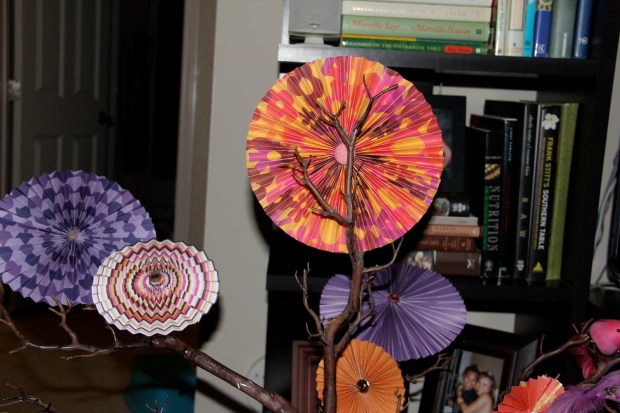
…so easy to make, a bit labor-intensive (I won’t lie), but the result is very striking and well-worth the effort. We made nearly a hundred of these for Nora’s Wedding and ended up using them throughout the entire wedding reception.  More photos to follow.

Here’s my best attempt to document the how-to. You will need the following:

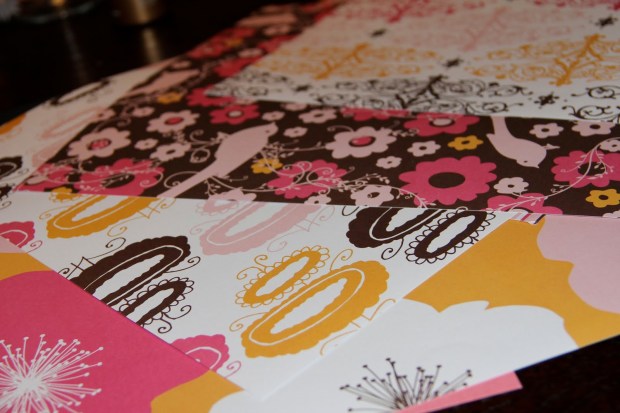
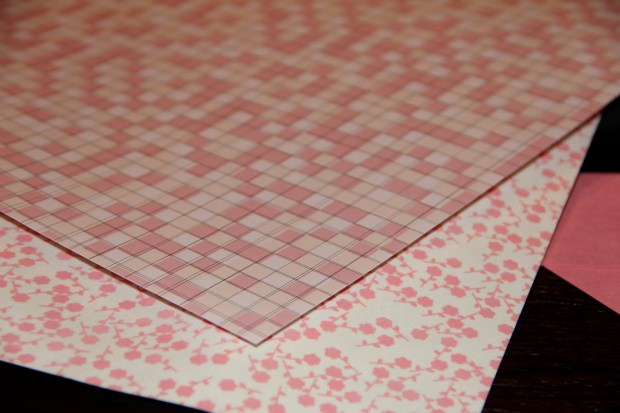
Pretty papers. We used a mix of scrapbook printed papers and some plain construction papers.
Paper glue
Glue gun
Cute buttons/jewels for the center

First, select the papers in the color scheme that you want.  For this project, we used Purple, Pink, and Orange as the main colors and some other supplemental colors.

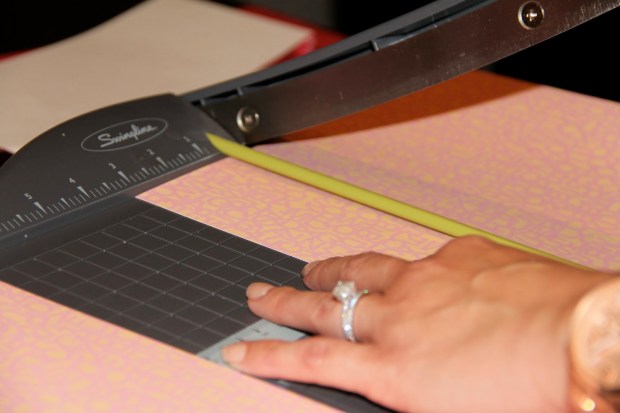
Cut the paper into long strips. The width of the strip is equal to the radius of the wheel so the wider the strip, the larger the wheel will be.

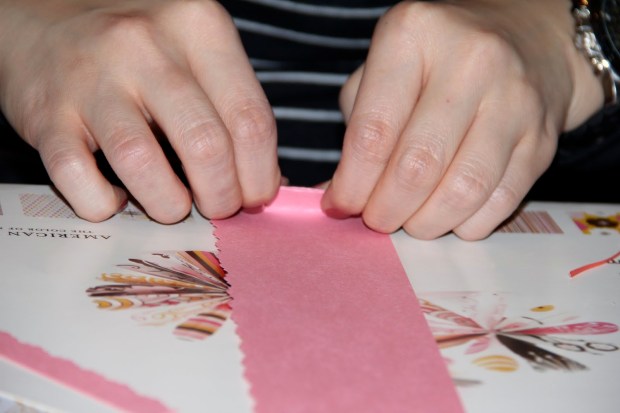
Start folding each strip using accordion fold…

We trimmed the edge of some strips with fancy-edge scissors so some of the wheels have pretty edges on them.

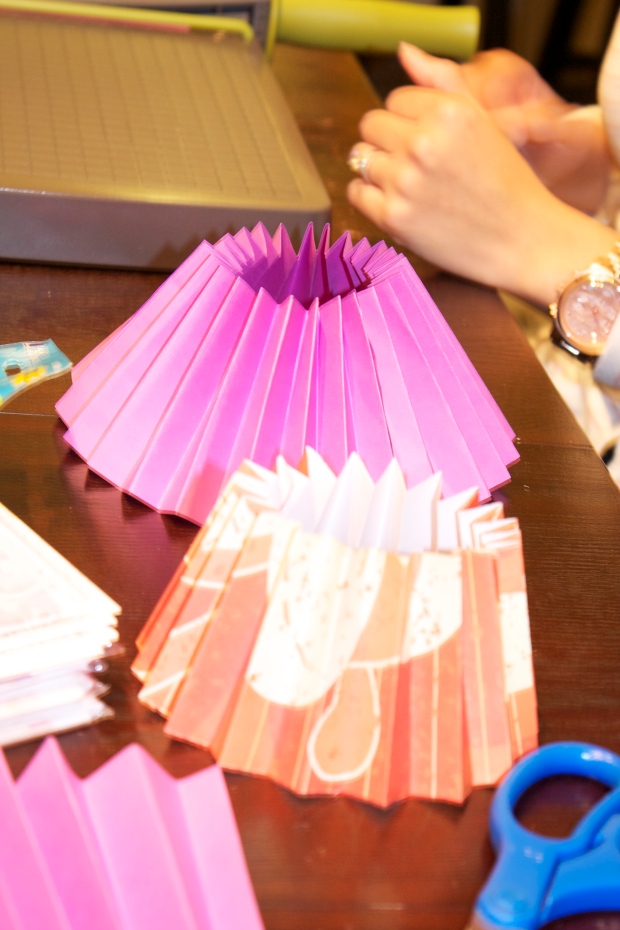
This is how the strip should look after the fold is done…

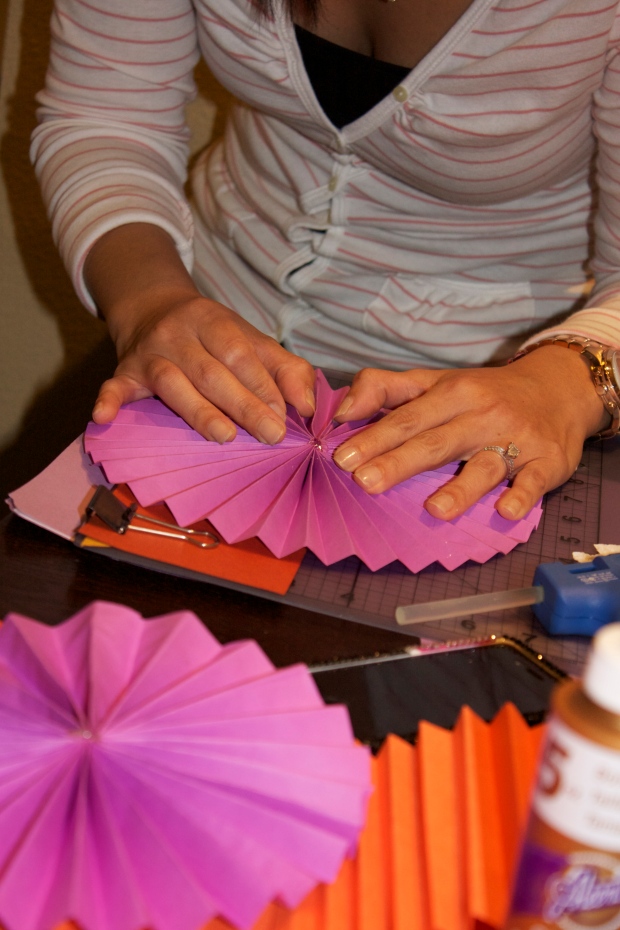
You will then need to glue 2-3 strips together to make a circular tube like this…

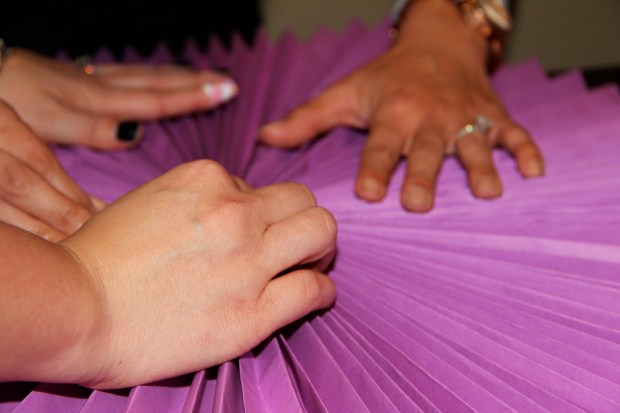
Then gather to top part and push it down and glue with the glue gun.

This part requires a lot of patience.  You’ll have to hold it down until the glue is completely set.

It worked much better for us with 2 people doing this step together.  We also found that it worked better to gathered the top, dropped in a bit of glue, then pushed it down into a flat wheel.

Then select a cute button/bead/jewel that compliments the color of the wheel and just glue it to the middle…

And that’s it!  The wheels are done.

Next, I’ll show you how these are being put to use 3 different ways.  Stay tuned!

Images:  Courtesy of Debi Chun and Adventures of Styles

“MAD ABOUT [CHAMPAGNE BUBBLES] MONDAY”

…I know it’s a little early in the week to be thinking of bubbly, but I’m still bubbling with excitement from the wonderful Wedding Weekend and celebrating our 6-monthsary on Sunday!  It has been amazing 6 months of married life (and only 6 more months to go ’til I get to devour our wedding cake…yay!).  All in all, it was a fabulous weekend spent with great friends with lots of bubbly flowing…which brings me to my point…I’m so in love with the sparkling champagne with white bubbles right now.  So understated chic and refreshing…

Ahhhh~mazing…

Bubbly, anyone?  Happy Monday~

Images:  1. Everything Fabulous, 2,3. Kate Spade

“FABULOUS FRIDAY [WEDDING WEEKEND]”

…I’m off to go set up the venue for tomorrow’s wedding.  This is going to be the first wedding I’m officially styling/coordinating from beginning to end.  I’m so excited!

I can’t share much yet, but all I can say is that there will be a whole lot of these tomorrow…

After the wedding, I’ll be able to share the design plan and all the DIY projects we have been working on the past 8 weeks so stay tuned!

For now, I’m gonna go pick out a fab dress for tomorrow and get busy decorating…

Happy Friday and Happy Wedding Weekend.  Cheers~

Images: Bits of Beauty