“THE PERFECT ‘PEAR’ REHEARSAL DINNER” PART III

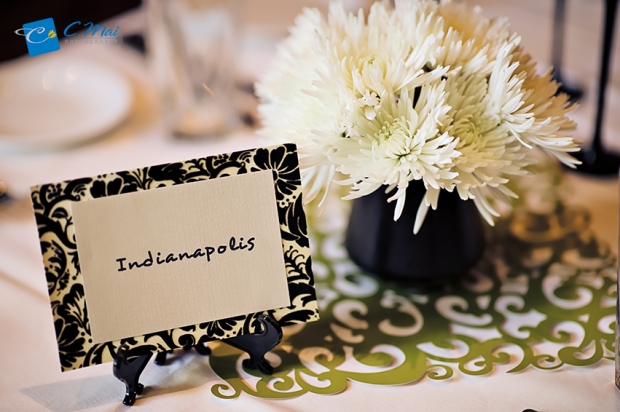
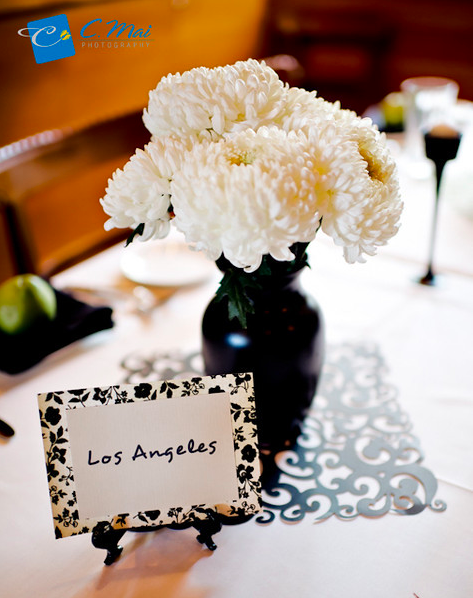
We finally get to the “Black” element of this party.  I had envisioned super glossy, black vases with pure white blooms in them.  I thought the contrast will be super modern, and since we are try to keep everything simple, modern is the best way to go.

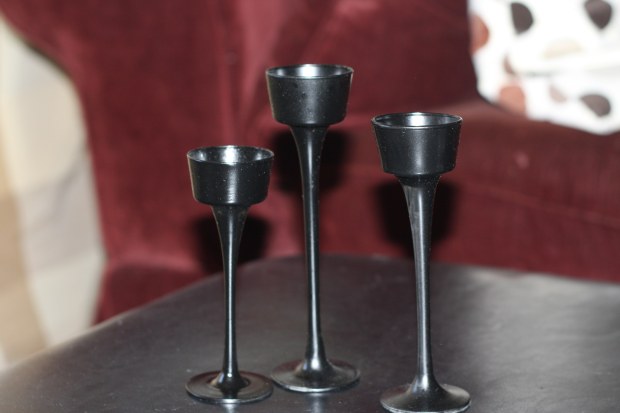
We purchased cheap vases and candle holders from the Dollar Store.

We then spray-painted them with a glossy black paint.

Sadly, they didn’t turn out as glossy as I would have wanted them to be, but they still work out great in the end.

We then purchased bunches of white/ivory blooms from a local flower wholesaler.  We got China Mums, Gerbera Daisies, Lisianthus, Tulips, Hypericum (which I think look like mini-pears…so cute) and some other really pretty flowers that I don’t know the name of :-(.  I really must educate myself more on flowers…

The key to make this minimalistic approach work is to stick to just black and white/cream palette.  This palette just make everything looks so clean and elegant.  To display them, we bought these laser cut scrapbook papers.  We used them as the “mat” to display the flowers on and to give the table another visual layer.
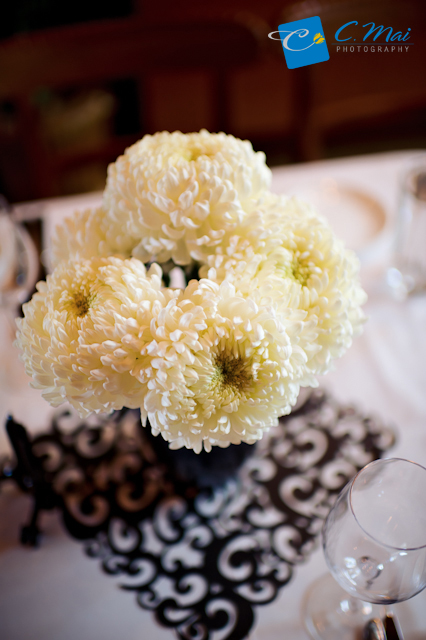
We originally wanted to make table runners, but our budget and time-constraint did not allow for that so we went with the mat idea instead.  I actually did the same trick before at my bridal shower, which worked really well so we did the same here.

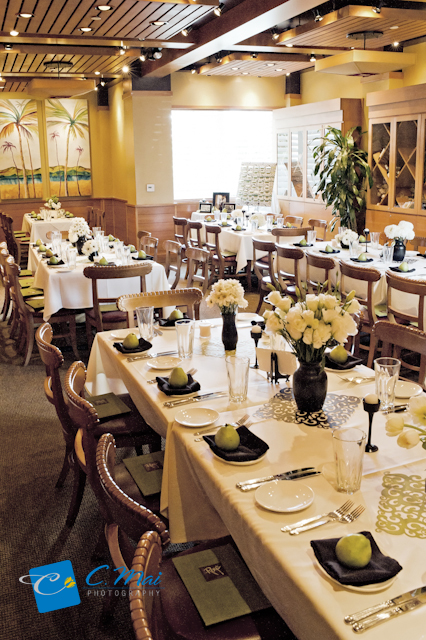
And here’s how the room turned out….

Cheers to the Perfect “Pear”~

Images: Me and C. Mai Photography

“THE PERFECT ‘PEAR’ REHEARSAL DINNER” PART II

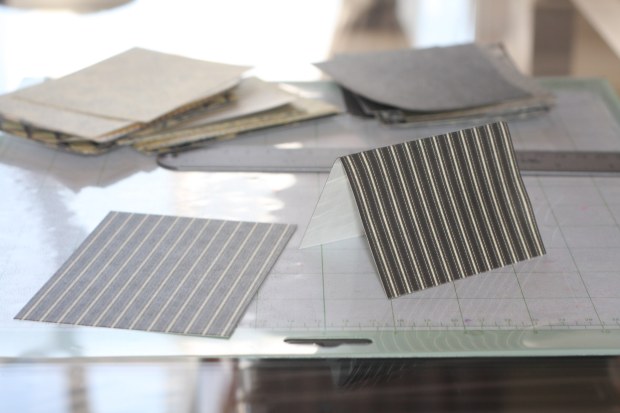
For the escort cards, we were able to find these cute, patterned scrapbook papers in a smaller than standard (12×12) size at Joann, and luckily, they were perfectly in our color scheme as well.

Each piece is perfect for 2 escort cards when cut in half.

We halfed each paper then folded each piece in half again so each card will stand up on its own.

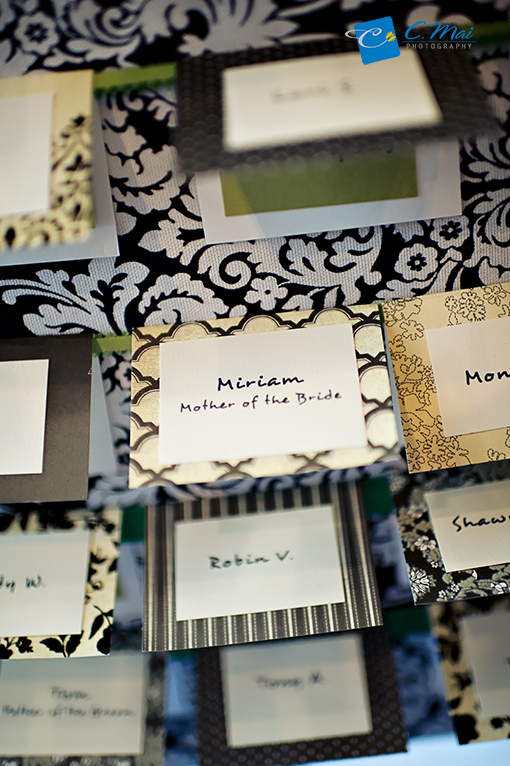
We then printed each guest’s name on ivory papers.  Cut out each name and glued it to the outside of the card.  As for the inside, we printed each table’s name on green papers and glued it to the inside of the card.  So simple, yet so pretty.

As for the table names, we used the same patterned scrapbook papers as the escort cards, but instead of halfing each one, we used the entire sheet.  We also printed each table’s name on an ivory paper then just glued it onto the patterned paper.  We then displayed  each one on a photo stand (recycled from my wedding.  I ❤ recycling!).

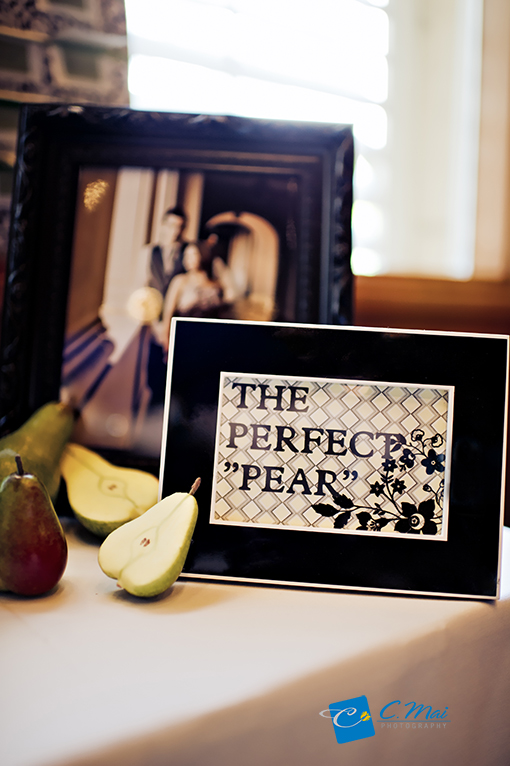
We also made the signs “The Perfect ‘Pear'” and “Please Take a Seat” with the help of the Cri-Cut machine.  We simply cut the words out with the Cri-Cut on a scrapbook patterned paper then we added a plain, opposing color paper in the back so the words show.  We then framed them for the Escort Cards Table.

As previously mentioned, we tried to keep everything as simple as possible so purchasing already pretty, patterned papers saved us a lot of time.  So my advice is to always be on the lookout for pretty scrapbook papers on sale.  They save so much time and energy, and they can add so much characters to your event.

Up next – The “Black” element of this party.  Stay tuned!

Images:  By me and Courtesy of C. Mai Photography

“THE PERFECT ‘PEAR’ REHEARSAL DINNER” PART I

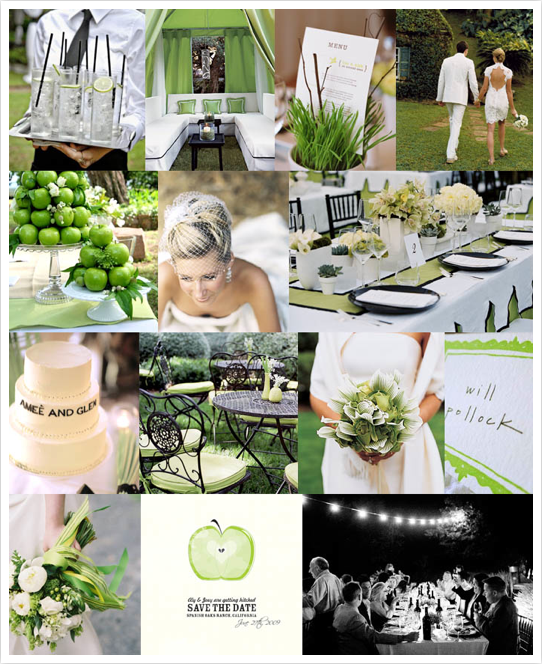
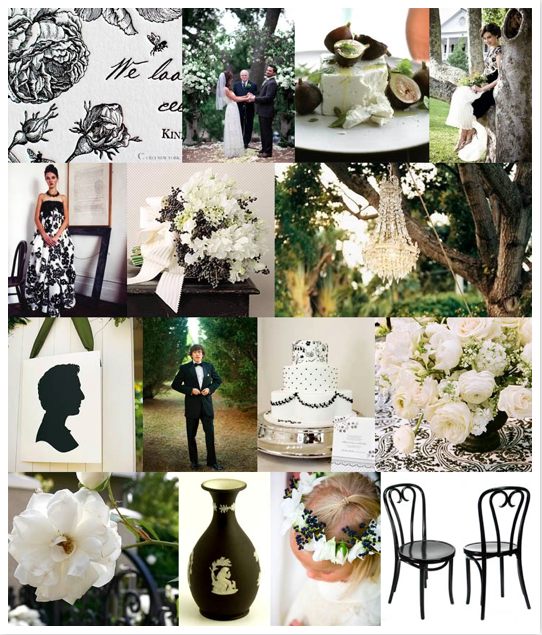
…since we were asked to take this dinner on (super) last minute, I didn’t come up with my own inspiration boards.  Instead, I went to the Queen of Inspiration Boards, Kathryn of Snippet and Ink and just picked a couple of them out for this dinner.  We decided on a modern palette of black, cream, and “pear” green for our Perfect “Pear” theme.  It is always a bit hard to design around a pre-existing color scheme, in this case, a restaurant, but we made the most of what is there.  The restaurant’s table clothes are cream, and they were able to provide us with black napkins so we chose to bring in green and work around that.  Here are the boards that inspired this dinner…

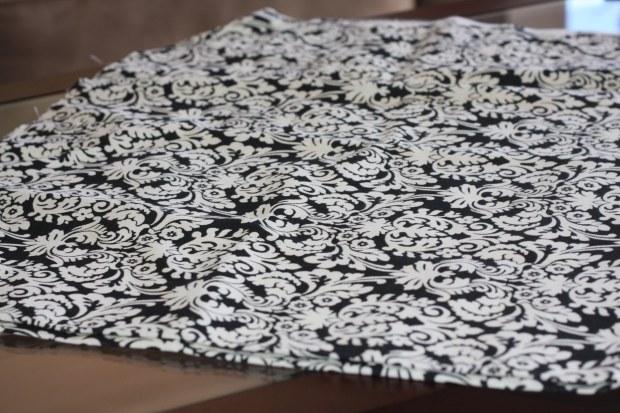
Because of the budget and time-constraint, I decided to keep all projects a simple as possible but still make a big impact in the room.  The biggest showpiece for this event is the Escort Cards Display.  We chose a Black & Cream Damask fabric and wrapped it around a simple foam board.  Here’s how we did it:

Start with a large foam board.  The one we used is 24 in. x 30 in. for 45 escort cards.  This can be purchased at any craft store.

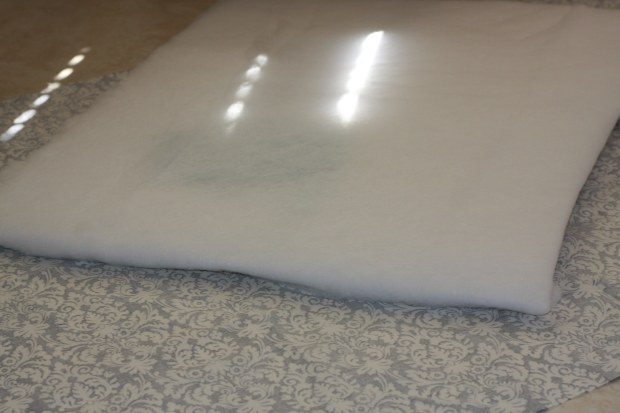
We also bought a roll of batting from Joann’s.

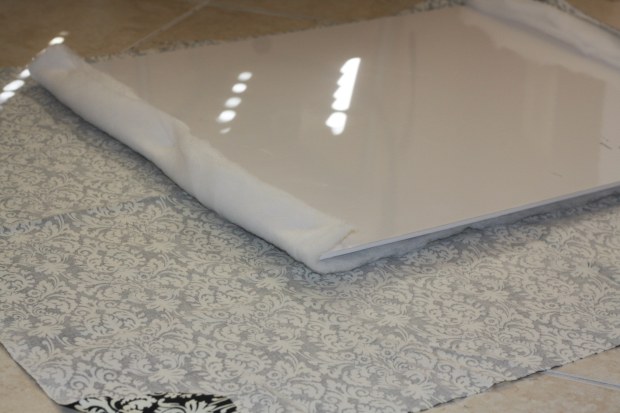
We then wrapped the batting around the foam board.  You can glue the batting to the foam board using a spray glue, but since we didn’t have any, we just used glue gun.

We purchased a patterned fabric a little large than the foam board.

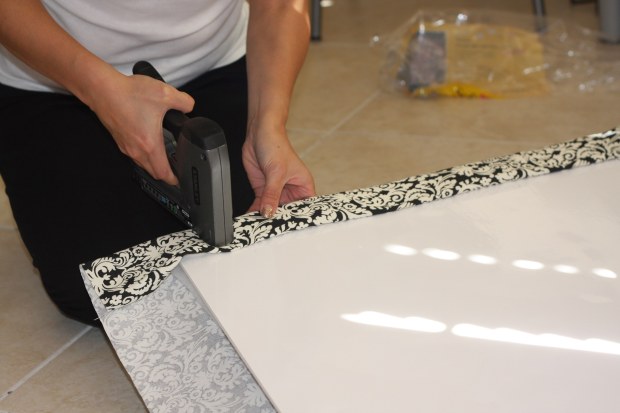
We then wrapped the fabric around board.  Make sure to pull it taut and then glue the back side.  You can also staple the fabric to the board to be more secure.

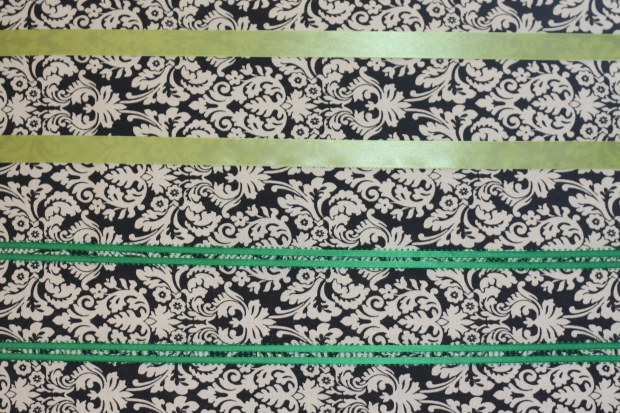
We then use green ribbons in different shades of green to wrap around the board.  This is where you’ll tuck in the escort cards.

We were having some trouble getting the ribbon to stay taunt so we ended up using thumb tags to help re-enforce the ribbons by tagging them directly into the back of the foam board.  This method worked the best – although it doesn’t look pretty in the back, but our board will be leaning against the wall so it worked fine for us.
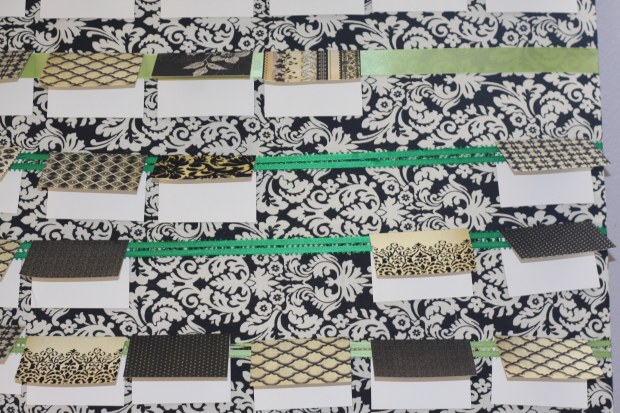
And that’s it for the board.  Super easy.  This is the finished product…

Up next – the  paper projects (escort cards, table names, and signs).

Images:  1,2 Snippet & Ink, and the rest of photos – me.